Must-know HTML Tags for SEO and Digital Marketing
Most of the work related to HTML is done by coders, programmers, and software developers, but SEO pros and digital marketers should still have a firm grasp on the essentials of HTML tags. Tags are a must-know if you want to properly develop technical specifications and understand how HTML tags affect SEO.
Read on to find out which tags and attributes are important for search engine optimization, why you need them, and how to use them properly. We went through every HTML tag used by SEOs and listed the most important ones.
-
SEO professionals and digital marketers should know which HTML tags are important to ensure SEO success. These tags create a clear content structure, making content easier to follow for both users and search engines. They also improve text readability, control how link equity flows through your site, impact click-through rates in search results, and help search engines understand and access your pages properly.
-
Perform regular site audits with tools like SE Ranking’s Website Audit to monitor tags and ensure your site is in good SEO health.
-
Need-to-know HTML tags for SEO:
The <title> tag is an important tag for usability and search engine optimization. Keep it at around 55-60 characters to ensure search engines can understand what your page is about and that it’s appealing to users.
-
Heading tags (<h1> to <h6>) create a logical structure for your content. Remember to use just one H1 and keep the header hierarchy intact.
-
The <meta> tag provides essential metadata about your webpage. The name attribute in the <meta> tag can be used to identify the page’s author, viewport settings for different devices, and instructions for search engine bots. The description attribute describes what your page content is about in SERPs along with the title.
-
Link tags <a> and <link> are the key to creating navigation between pages, implementing hreflang for international SEO, setting up canonical tags to manage duplicate content, controlling how search engines follow links through attributes like nofollow, ugc, and sponsored.
-
The <img> tag appears on pages with images. All three of this tag’s attributes require proper use: the src attribute for file location, descriptive alt text for accessibility and SEO, and the title attribute for additional context.
-
Tables and lists (<table>, <ul>, <ol>) not only organize information but also increase your page’s chance of appearing in featured snippets.
-
Semantic HTML tags like <article>, <section>, <nav>, <aside>, <footer> and <header> help search engines understand the meaning behind various sections of your page and improves the page’s overall accessibility.
Why are HTMLs important for SEOs to understand?
Using several different HTML tags is essential for SEO optimization. SEOs and web marketing managers use them daily to achieve all kinds of goals:
- To set up a clear content structure. A clear and logical hierarchy of H1s-H6s plus key information that’s emphasized make content readable and engaging. Search engines also use them when analyzing your content.
- To improve readability. Content formatted with lists, tables, and well-structured paragraphs is easier for both users and search engines to understand.
- To improve link equity distribution. Both internal and external links tend to be created with HTML tags, and so are their properties, such as “noindex”, “nofollow” etc.
- To improve page CTR. SEOs use HTML tags to assign concise, descriptive meta title and meta descriptions to pages. In addition to influencing the CTR on SERPs, these tags tell search engines about the topic on the page
- To manage page accessibility. HTML tags can prevent all robots or specific robots, such as Googlebot, from indexing a page. They can also instruct them on how to display specific data pieces in snippets.
The most important HTML tags for SEO
We identified the HTML tags most frequently used by SEOs and marketing specialists. These tags are essential for beginners to learn. Using them properly can have a huge positive effect on rankings, while missing or broken tags can cause pages to drop in rankings.
Now, let’s dive into the most essential HTML tags for SEO:
<title>: Defines the title of the HTML document
Being one of the most favorite tags of SEO pros, the <title> tag helps both users and search engines understand what the page is about.
Titles are displayed as clickable headings on SERPs and are vital to the page’s overall usability and search engine optimization. The purpose of this tag is to accurately and concisely describe the content of the page so that searchers are drawn to the page, and search engines have enough additional information about its topic. Content creators often use clickbait titles to get user attention.
The title is displayed in both the snippet and the browser tab. This helps users quickly understand which pages are open in the browser.

If you don’t use the Open Graph markup, the title will be displayed as the anchor text when you post links on social media. That is why the title must be concise, informative, unique and interesting, as it will attract potential readers.
Although there are no official recommendations from Google, industry standards suggest keeping the title length up to around 55-60 characters (around 600 pixels), since excessively long titles will likely be truncated on SERPs. Incomplete information will get pulled into the snippet if it is too long and will appear incomplete if it is too short.
Now with title length out of the way, let’s figure out whether we need to use target keywords in the title tag. The short answer is yes, as the title is one of the strongest indicators of what the page is about. However, to positively affect ranking, the overall page quality must be competitive compared to other players on the SERP. Google has known how to analyze web pages without getting hung up on tags alone for a long time, so optimizing for length alone won’t work.
Feel free to specify other additional information in the title, such as price, brand, delivery options, and so on.
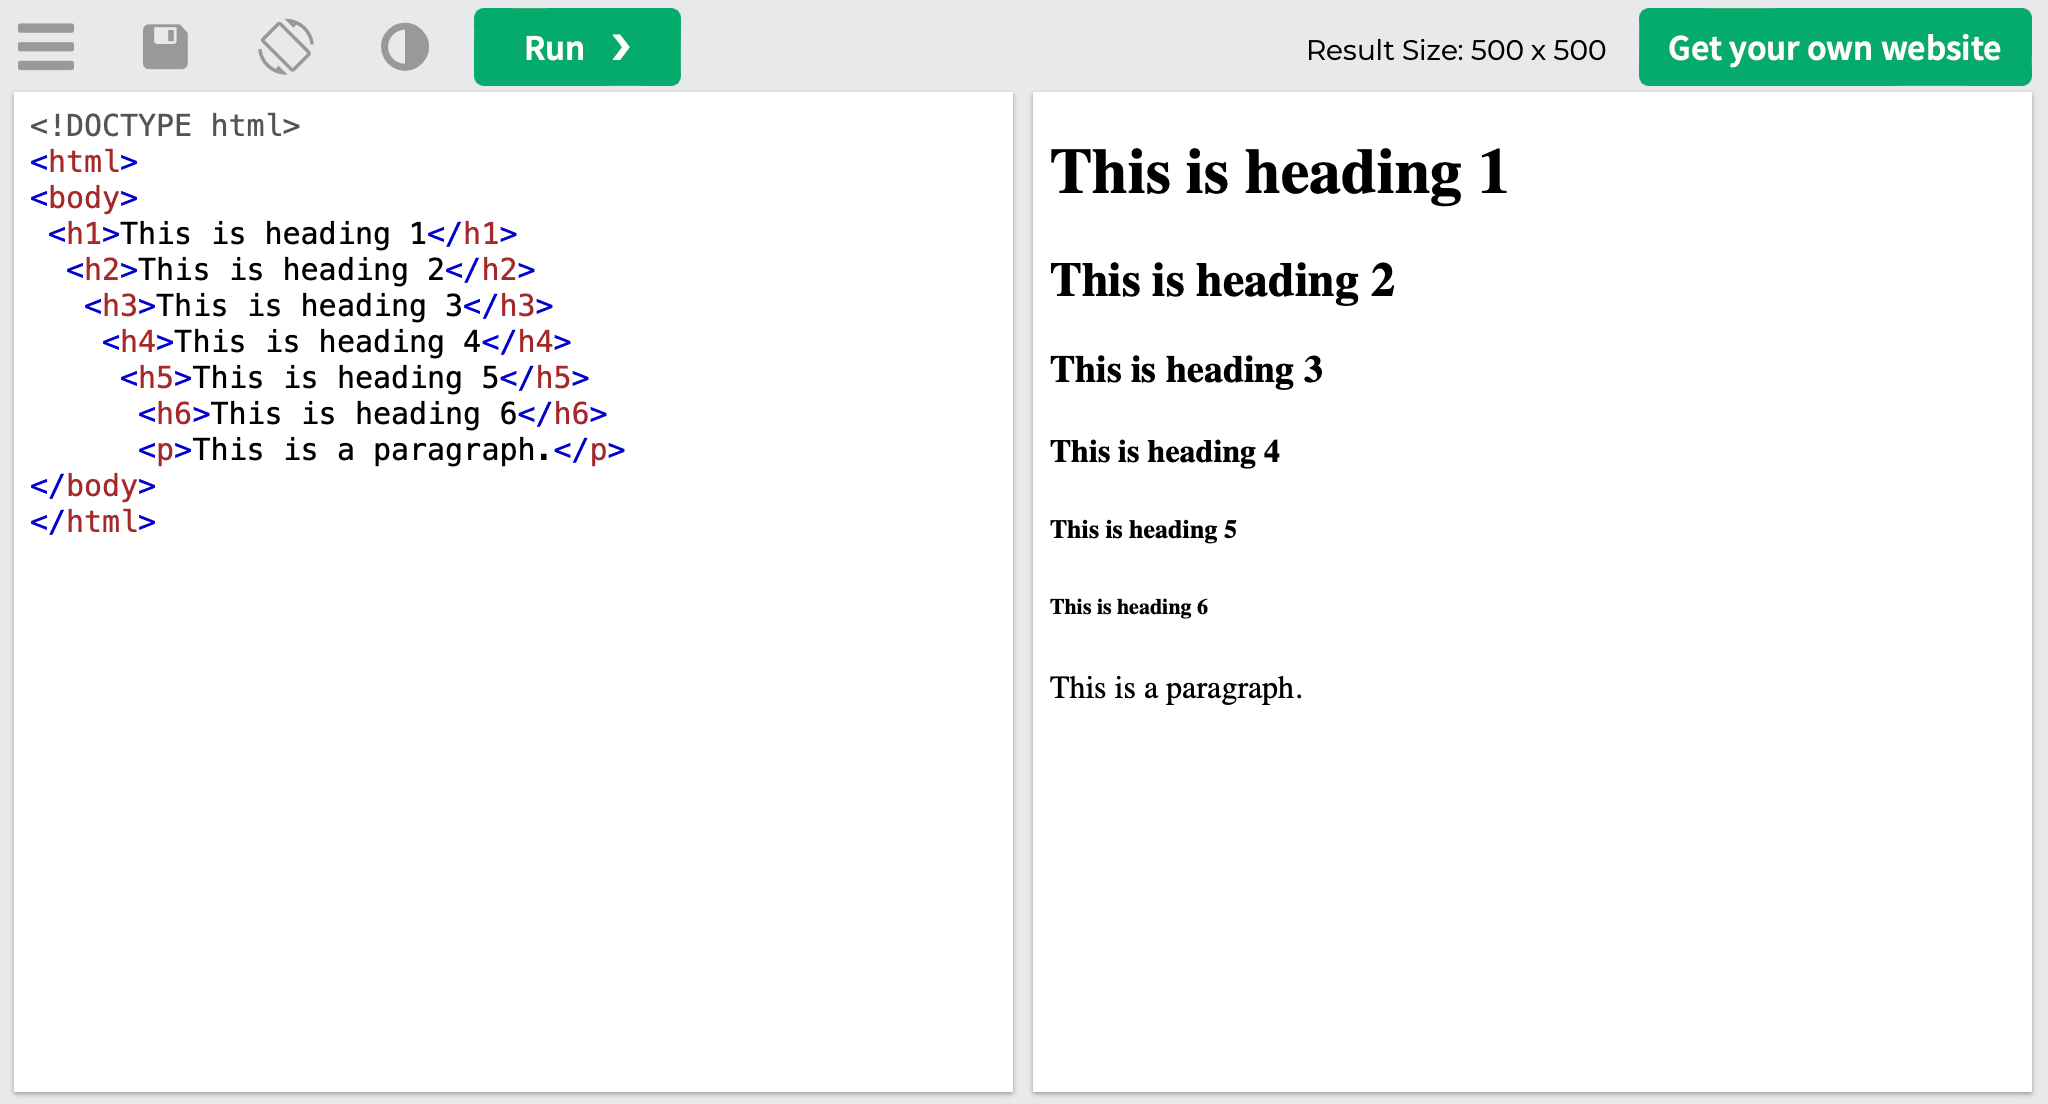
Here’s what the HTML code looks like:
<!DOCTYPE html>
<html lang="en">

<head>
 <title>This is the title of a document</title>
 <meta name="description" content="This is a description">
</head>

<body>
 <h1>This is a heading</h1>
 <p>This is a paragraph.</p>
</body>
</html>
Interestingly enough, since the <title> element is a part of the <head> tag of the HTML file, it isn’t displayed on the page itself. Plus, there should only be one <title> tag in a single document that must be placed inside the <head> container. The <title> tag also supports HTML Global Attributes, but doesn’t support Event Attributes.
<h1> to <h6>: Define headings at varying levels
Every piece of online content should be structured to be comprehensive to both search engines and users. All text on the page must have a primary title and be broken down into logical semantic blocks, each with its own title. HTML uses special tags to highlight these page elements. These are called: headings.
There are six heading levels: h1 to h6. <h1> is used as the main heading and is usually placed above the text. All the headers must stick to the hierarchy principle, with the <h1> tag typically being used on a page once.
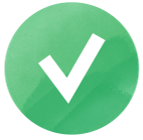
<h1>This is heading 1</h1>
<h2>This is heading 2</h2>
<h3>This is heading 3</h3>
<h4>This is heading 4</h4>
<h5>This is heading 5</h5>
<h6>This is heading 6</h6>
Here’s what the HTML code looks like:
It has been confirmed that the <h1> tag has priority. No matter how many <h2> headings you optimize, they still can’t outrank a web page with an optimized <h1>.
To get SEO benefits, it’s best to stick to best practices as you use headers in content—use only one h1 header and maintain header hierarchy.
Note that the <title> and <h1> tags are not the same thing. Although both have similar functions as far as describing the page’s content, the title is displayed in the snippet, social media and browser tabs, while the <h1> tag is only displayed on the page as the header. They also serve different purposes: the title attracts people from the SERPs, and the <h1> tag describes the content and confirms that the searchers arrived at the right page.
<meta>: Provides additional metadata about the webpage
The <meta> tag defines the HTML document’s metadata that isn’t shown on the page, but can be processed by search bots and browsers to display content or reload the page.
It must always be placed within the <head>, and is usually used to specify the set of characters used on the page, the page description, keywords, author, and viewport settings.
Let’s look at the various attributes the <meta> tag can contain.
Name attribute
The Name attribute is one of the primary attributes of the <meta> tag. It specifies the name or type of the metadata. Here’s how it can be used:
- Informing search bots: You can use the name attribute to indicate whether the information on a page is intended for search bots and how they should navigate it. For example, by indicating a user agent in the name attribute in the meta tag, you can tell a specific (or all bots) to consider the noindex directive, preventing them from interacting with your page. For example:
<meta name=”googlebot” content=”noindex”>

<meta name=”robots” content=”noindex”>
- Viewport control: The viewport meta tag controls how your webpage appears on different devices by setting the visible area and initial scale. It’s essential for responsive design and should be added to all web pages to ensure proper display across desktop, mobile, and tablet devices. For example:
<meta name="viewport" content="width=device-width, initial-scale=1.0">
- Identifying the author: The name attribute can also be used to identify who wrote the content on the page. This provides attribution to the original author. For example:
<meta name=”author” content=”John Appleseed”>
But these are not all the values of the name attribute. Let’s take a closer look at some other ones.
Description attribute
The description attribute, often referred to as the meta description, is another attribute used with the <meta> tag, which is essential for SEO. This attribute provides a textual description of the page’s content that is displayed in SERPs along with the title.
Here’s what its HTML code looks like:
<meta name="description" content="HTML tags and attributes you need to know">
Other than providing additional information on the page to search engines, the description attribute gives content creators an opportunity to write enticing text that will encourage people to click on the page from the SERPs.
The description text has to be appealing and motivate people to go to the page. However, Google may replace the provided page description with parts of the content that are relevant to the user’s search query.
Although the description text doesn’t provide a direct boost in rankings, it can increase your CTR, which is considered a positive ranking signal.
<a> and <link> tags: Create links that allow users to navigate to other webpages or specific locations within those pages
The <a> tag defines hyperlinks linking to other web pages, files, or individual sections within the same page.
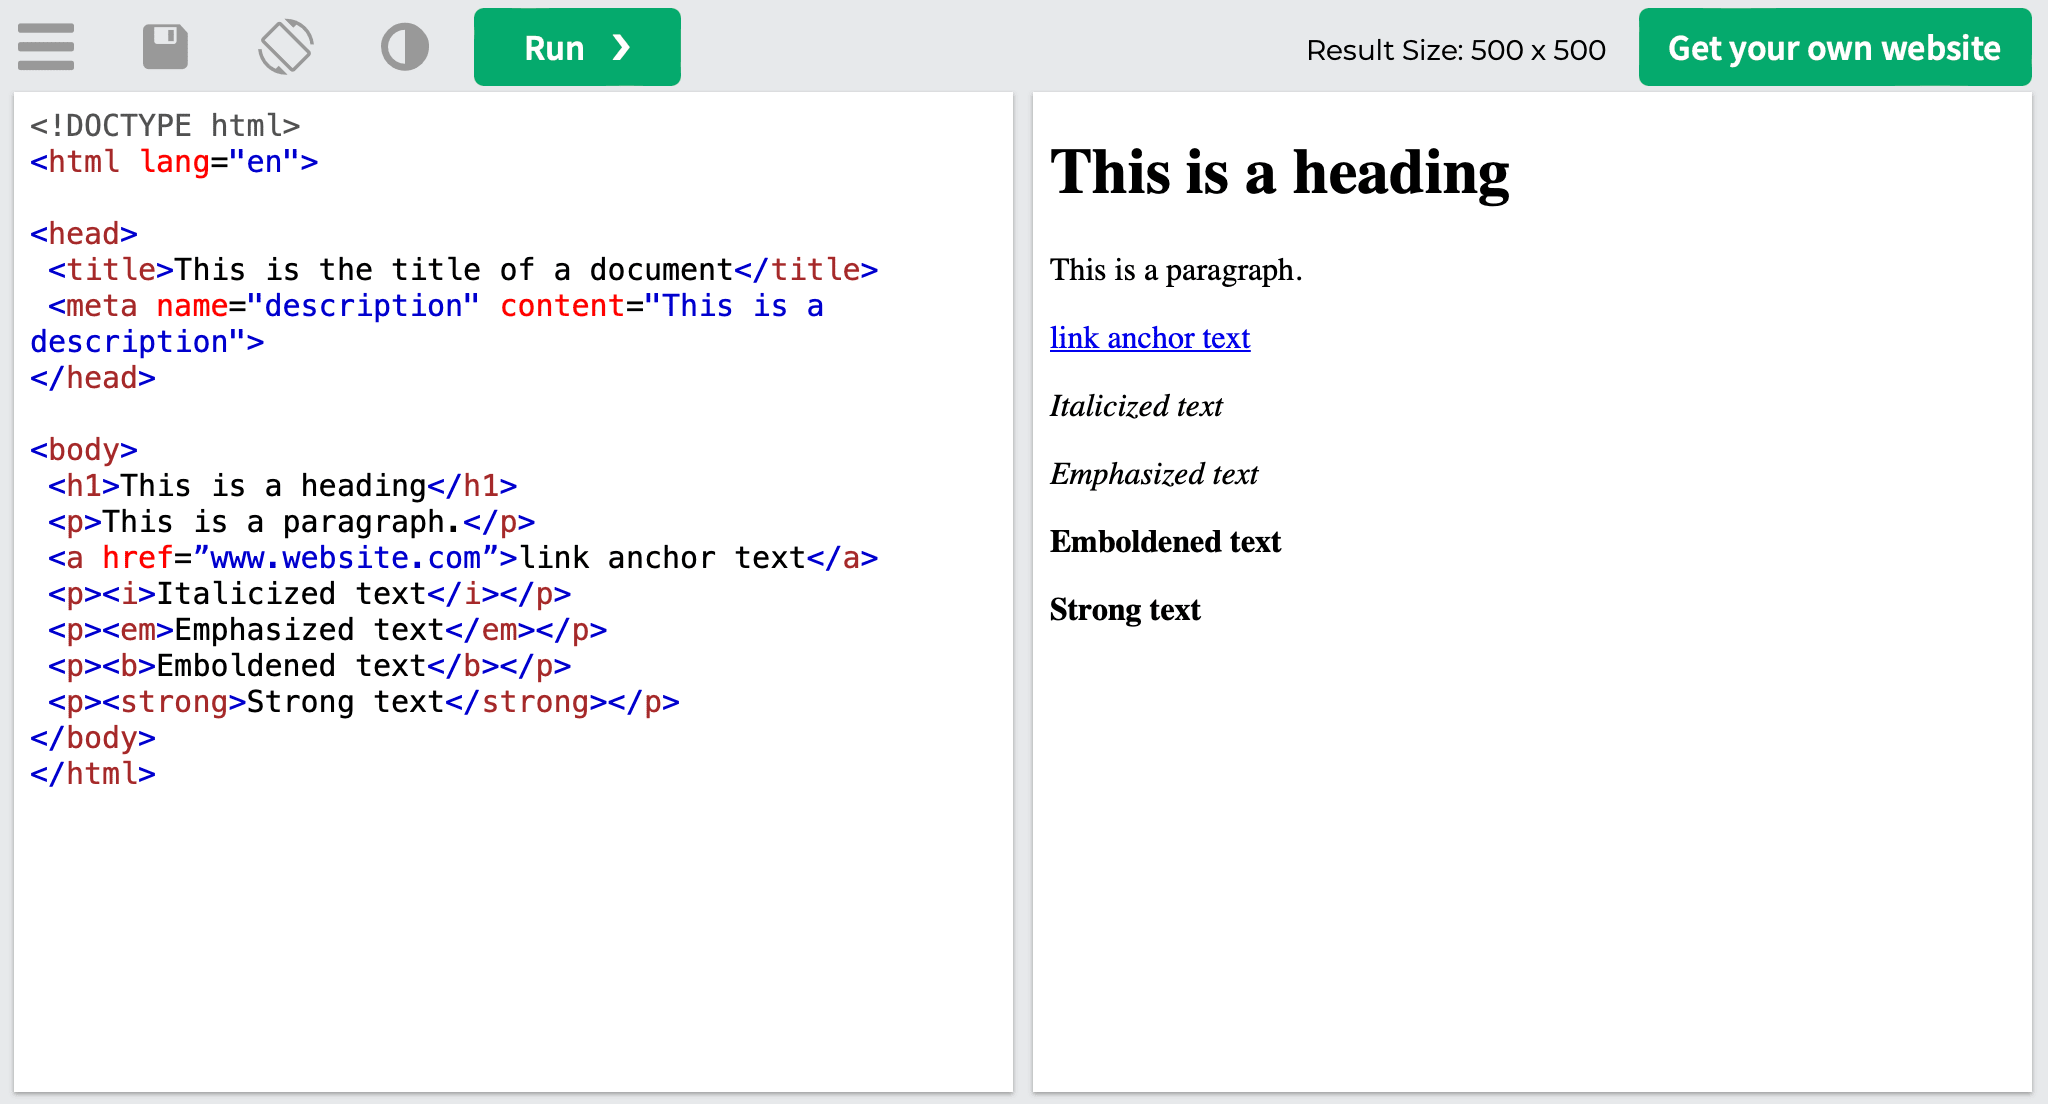
Here’s an example of what an HTML code looks like:
<a href=”www.website.com”>link anchor text</a>
When added to the HTML code and placed in-content, the example above will look like this.
Now, let’s break it down to its finer parts. First, we have the <a> tag—this indicates that the element is a link. Then, the href attribute defines the page the link links to, which is www.website.com in our case. The text that you can see between the start <a> tag and the close </a> tag is the anchor text, as in the clickable in-content text that visitors will see on the page.
The <a> tag is used for clickable links placed within the page’s content, as in within the <body> tag. To link a web page to an external resource, like a document containing fonts or external style sheets, use the <link> tag, which appears in the <head> of the page.
Here’s what its HTML code looks like:
<link rel="stylesheet" href="styles.css">
The <link> tag links aren’t hyperlinks, they cannot be clicked on, and the <link> element itself contains only attributes. They simply show how web documents are related to one another.
Now, let’s look at the attributes associated with link tags.
Hreflang attributes
The most important attributes of the <a> tag are the href and hreflang attributes. These indicate the link’s destination and specify the alternate page’s country and language.
The hreflang attribute was primarily designed for websites that contain the same copy in different languages. It tells search engines which page version to display to visitors so they can see the content in their preferred language.
The hreflang attribute can also be used in the <link> tag where it defines the language of the linked-to web page. Here’s what its HTML code looks like:
<link rel="alternate" href="https://website.com" hreflang="en-gb" />
The code is split up into three parts:
- The alternate value: This indicates to search engines that the web page has an alternative relevant page.
- The href attribute: This defines the URL of the page being linked to.
- The hreflang attribute: The language code indicated after it lets search engines know the language or country of the linked page. Check out the full list of language codes known as ISO 639-1 codes.
Hreflang can be specified in the site’s XML sitemap as well. For non-HTML documents, the hreflang attribute can be specified in the HTTP header.
Rel=“nofollow” attribute
The rel=”nofollow” attribute points out to search engine bots that they aren’t allowed to follow the URL indicated in the href attribute.
This attribute does not effect website visitors and allows them to click links to go to other pages, but it impacts bots by restricting their access to the linked page or highlighting any specific positive aspect of linking one page to another.
This attribute can either be applied to a single link like so:
<a href=www.website.com rel="nofollow">link anchor text</a>
Or you can mark all links on a page as nofollow by using it in the <head> tag, like the noindex attribute:
<meta name="robots" content="nofollow"/>
But it’s not just about search engines and their bots. You can still benefit indirectly from nofollow links if your website visitors click through to the linked web page.
Google’s use of the rel=“nofollow” attribute
Several years ago, Google made a few alterations to the nofollow attribute and introduced the ugc and sponsored attributes. Unlike the nofollow attribute, these new ones allow publishers to more clearly state the relationship between links and their target pages.
They help Google recognize when not to consider a linked-to page when ranking pages:
- The ugc attribute stands for user-generated content and is used to mark links that have been added through publicly available resources
- The sponsored attribute is used to identify links obtained through ads or sponsorships.
Google has also updated its stance on the nofollow, ugc, and sponsored attributes, now treating them as “hints”. While previously Google’s bot would completely ignore these links, it may now consider links with the provided “hint”. But even with this change, Google can still treat these links as “nofollow” based on its own evaluations.
Canonical attribute
The link tag’s rel=“canonical” attribute allows SEOs to point out which other web page to consider as canonical—as in it is the main version of the page, but its copies may exist. From an SEO perspective, this helps promote a specific page in organic search and blocks its copies from getting ranked.
Here’s what this attribute looks like:
<link rel="canonical" href="https://www.website.com/"/>
The code with the canonical attribute should be placed within the page’s <head> element. Note that you should indicate the page you want search engine bots to see as canonical after the href attribute.
Check out what Google has to say about canonical links to find out more.
<img>: Inserts an image into the webpage
The <img> tag appears on any page with images on it. This tag embeds images into HTML code and displays them in PNG, JPEG or GIF formats. You can also add an image in the form of a link to another file. To do this, simply put the <img> tag into the <a> container.
Images can also be used as HTML image maps whenever the image contains clickable areas that act as links. The only difference between image maps and regular images is that the former can be broken down into invisible zones of various clickable shapes.
Interestingly enough, this tag doesn’t actually insert images into pages, but links to them to ensure they are displayed on the page. The <img> tag serves as a container for images that are in fact located somewhere else, like a server.
Here’s what the HTML code of the <img> tag looks like:
<img src="imagefilename.jpg" title=”image description goes here” alt="alternative image description goes here">
As you can see, there are three attributes in this tag. One of them must be filled out correctly in order for the tag to function, while the other ones can be left without a value (however, it’s recommended to provide descriptive content for them).
Let’s look at the three in closer detail.
Src attribute
The main purpose of the src attribute is to indicate the location (URL) of the file of an image shown on a web page. The image’s location, as in its URL, can be specified in two ways for the src attribute.
If the image can be found on the same domain as the container that houses it, then you should use a relative URL. In this case, the domain name isn’t included in the URL address. If there’s no slash at the start of the URL, it relates to the page.
src=”imagefile.png”
But if there is a slash at the start of the URL, then it’s relative to the domain:
src=”/images/imagefile.png”
The relative URLs won’t break with a domain change, for example, when switching from HTTP to HTTPS. And if a browser can’t find the image, the alt text will be displayed along with the broken link icon.
To use an image located on another website, use the entire URL:
src=”https://www.website.com/images/imagefile.png”
Note that using images from external sources without permission may violate copyright laws. You also have no control over them and won’t know when they are removed or updated.
The sole purpose of this attribute for SEO is that you need it to index images and see them ranked in image search. Plus, the image tag can’t function without this attribute.
Alt attribute
The main purpose of this attribute is to indicate alternate text that will appear if an image can’t be displayed on the page. Since search engines are still not perfect at understanding what is portrayed on images, the alt attribute provides another way (in addition to the title attribute) for them to understand what is depicted on an image and rank it in image search for relevant queries.
Use keywords that describe the image and relate to the page’s topic for better SEO.
The alt attribute is especially useful for blind or visually impaired people who use screen readers and assistive tech to understand what’s in the image. Use the text in the alt attribute to help visually impaired readers access your visual content.
Although the alt attribute must be present in the image tag like the title attribute, you aren’t obligated to fill it out. We recommend doing it anyway because it makes your content more user-friendly.
Title attribute
The title attribute describes the image’s content. Although this attribute isn’t as vital for optimization as the alt attribute (it is not used for search rankings), it is still worth filling out since it can provide additional information whenever users hover over the image.
Many other attributes are used along with the <img> tag and are responsible for the image’s location on the page, as well as its size and design. Here are some of them:
- Crossorigin: Allows the use of images from third-party sites that permit cross-origin access use with canvas
- Height: Defines the image height
- Ismap: Defines an image as a server-side image map
- Loading: Defines if a browser should load an image right away or wait until specific conditions are met
- Longdesc: Defines a web page that contains a detailed image description
- Referrerpolicy: Defines what referrer info must be used when fetching an image
- Sizes: Defines the sizes of an image for different page layouts
- Srcset: Provides a list of image files that should be used in different scenarios
- Usemap: Defines an image as a client-side image map
- Width: Defines the image width
The <img> tag also supports HTML Global Attributes and HTML Event Attributes.
<i>, <em>, <b>, <strong>: Emphasize and style text in different ways to highlight importance or add emphasis
A separate group of tags is responsible for emphasizing text—making it bold, italic, underlined, etc. Text selection is useful when you need to logically highlight an important part of the text, both for readers and search engines.
Here are the most common tags for text formatting:
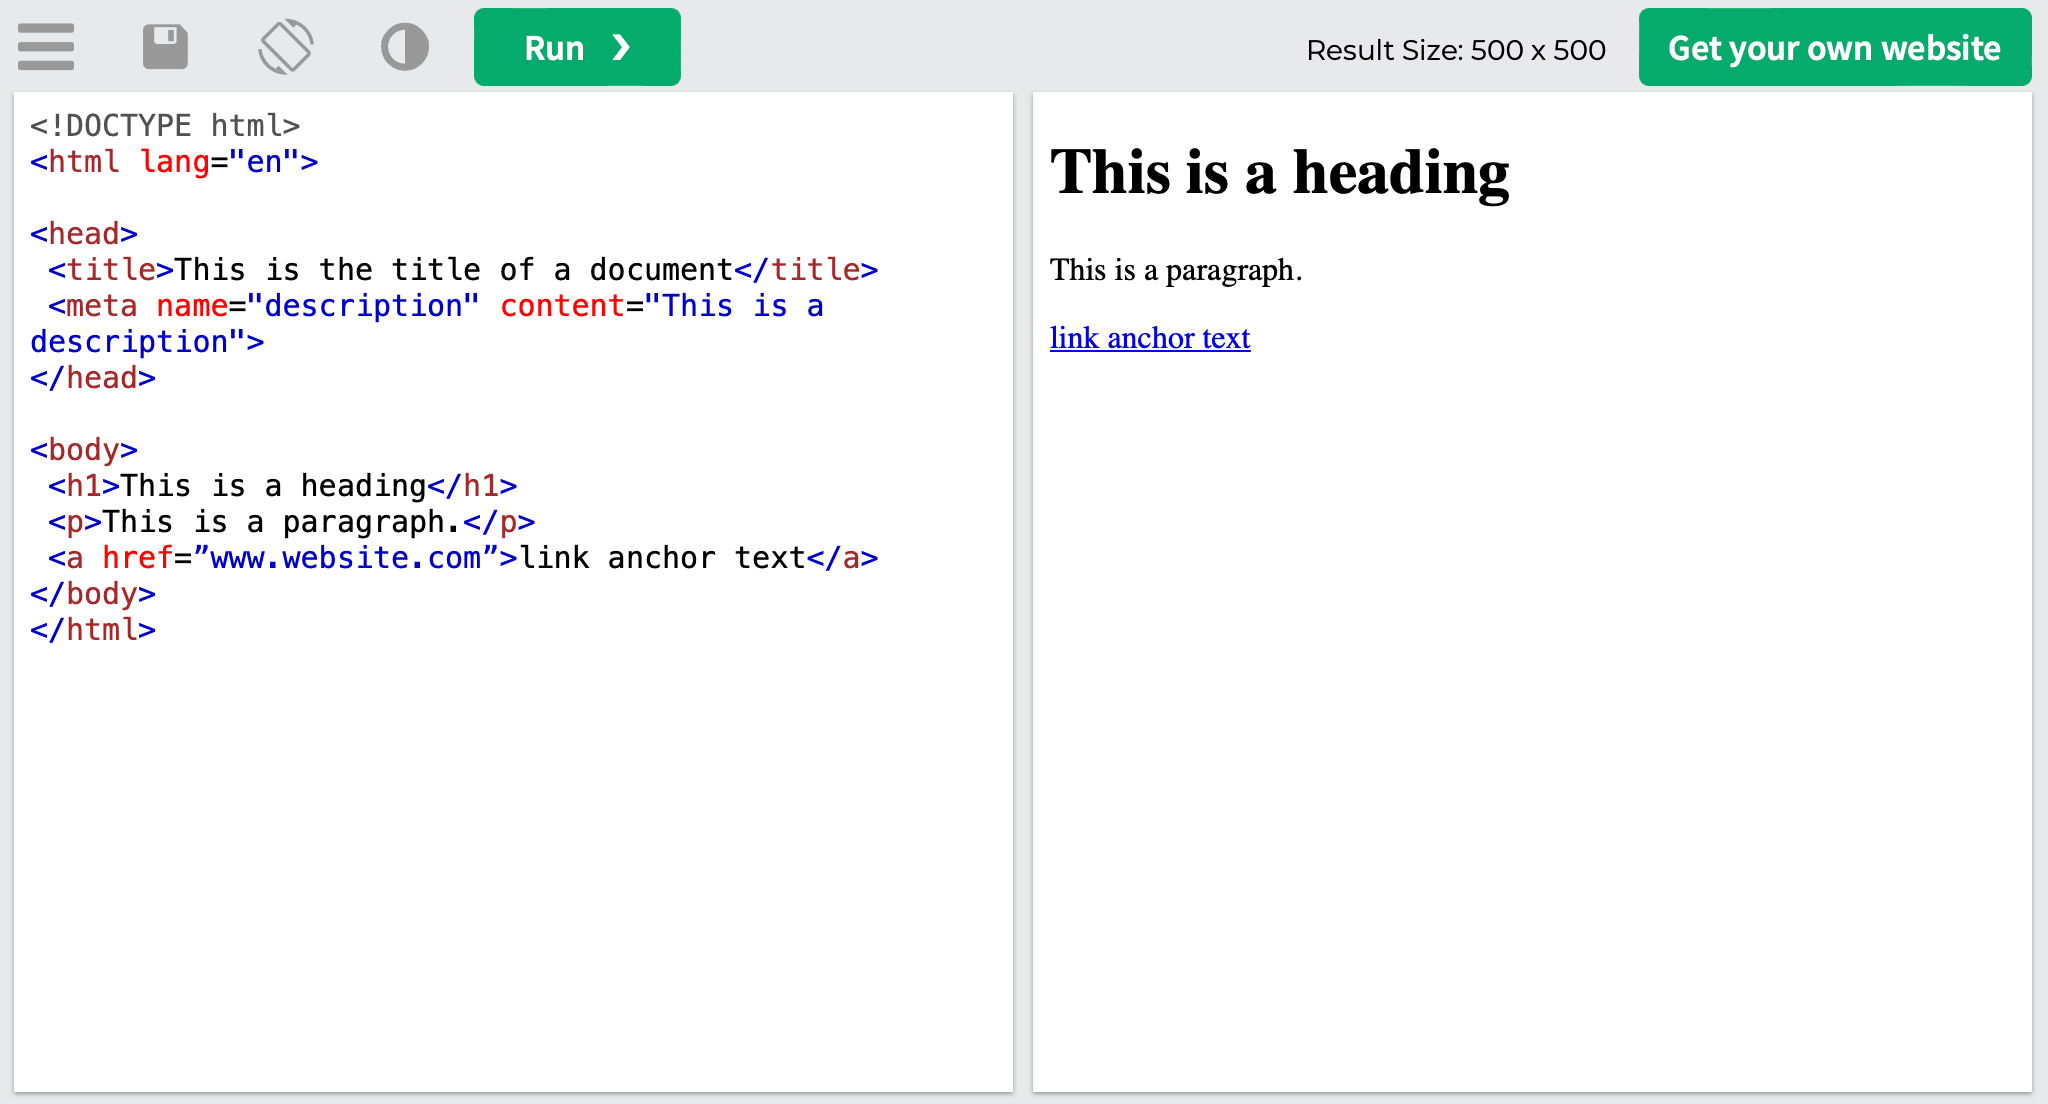
- The <i> tag makes the text italic.
<i>Italicized text</i>
- The <em> tag makes the text emphasized. The content within the tag is displayed in italices. Screen readers use verbal stress when pronouncing words in <em>:
<em>Emphasized text</em>
Note that the key difference between the <i> and <em> tag is that the latter provides a semantic emphasis on an important word or section of words (useful for SEO), while the former is just offset text conventionally styled in italics.
- The <b> tag makes the text bold:
<b>Emboldened text</b>
- The <strong> tag makes the text bold as well. However, unlike the <b> tag that simply makes the text bold without any logical meaning behind it, this tag tells search engines that the emboldened text is of great importance:
<strong>Strong text</strong>
Here’s how they appear in the code:
<table>, <ul>, <ol>: Structure and organize data into tables and lists
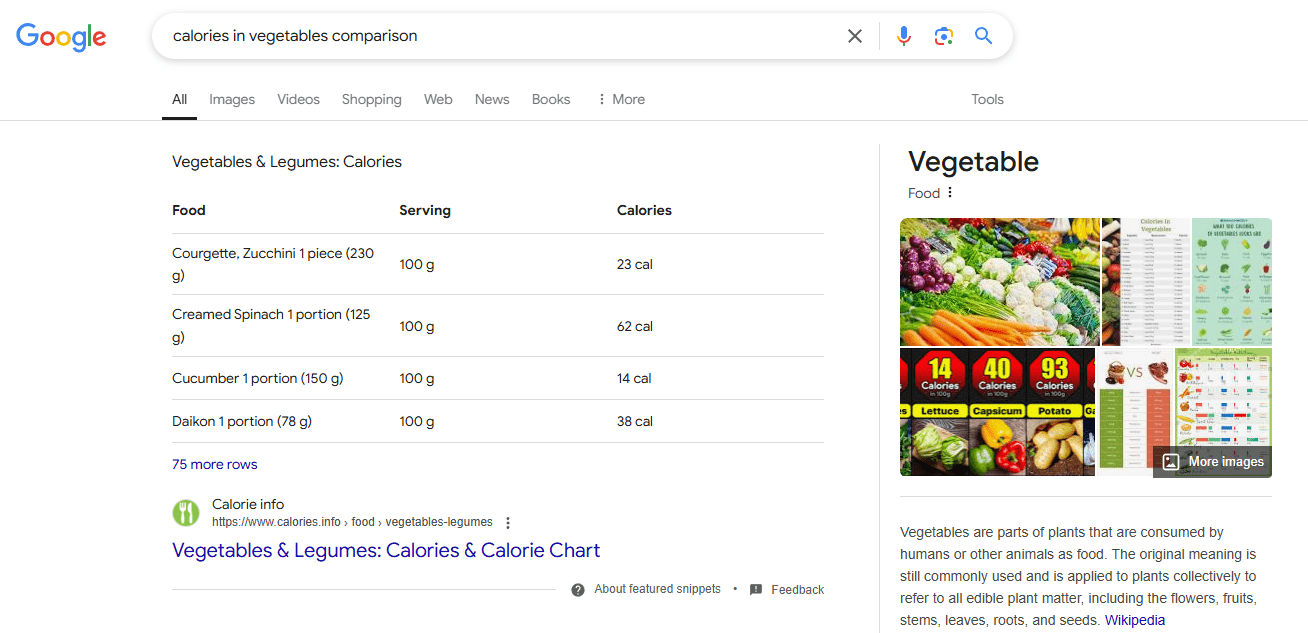
Tables and lists help organize information on a page and give you a sweet bonus—a chance to appear in Google’s featured snippet. For example, when entering the query “calories in vegetables comparison”, we see a featured snippet with the following table:
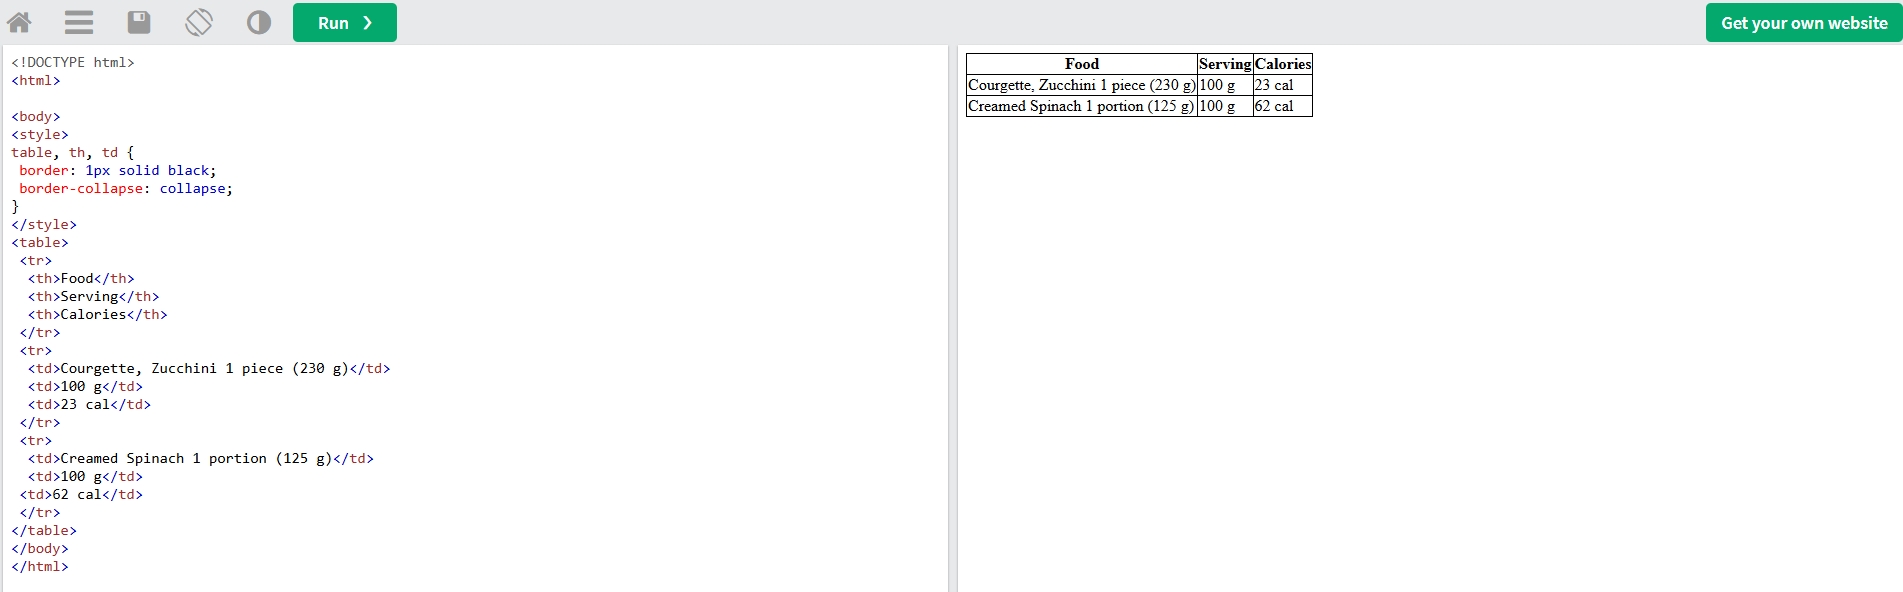
Here’s how the clean HTML code looks without any extra information:
<style>
table, th, td {
 border: 1px solid black;
 border-collapse: collapse;
}
</style>

<table>
 <tr>
  <th>Food</th>
  <th>Serving</th>
  <th>Calories</th>
 </tr>
 <tr>
  <td>Courgette, Zucchini 1 piece (230 g)</td>
  <td>100 g</td>
  <td>23 cal</td>
 </tr>
 <tr>
  <td>Creamed Spinach 1 portion (125 g)</td>
  <td>100 g</td>
 <td>62 cal</td>
 </tr>
</table>
Let’s break down these abbreviations and find out how to use the <table>, <caption>, <tr>, <td> and <th> tags correctly:
- <table>: Defines the table’s structure and content. The <caption>, <td>, <th>, <tr> and other elements are used inside the <table> tag. You can completely change the table using attributes: align the table, set a background image, change the background color, set the border width, etc
- <caption>: Creates a title for the table description
- <tr>: Creates a row in the table
- <td>: Creates a standard cell in the table
- <th>: Creates a header cell in the table with justified emboldened text
The lists all tell a similar story. The SEO value of lists lies in their clear, concise, step-by-step structure that boosts the page’s chances of appearing in the featured snippet.
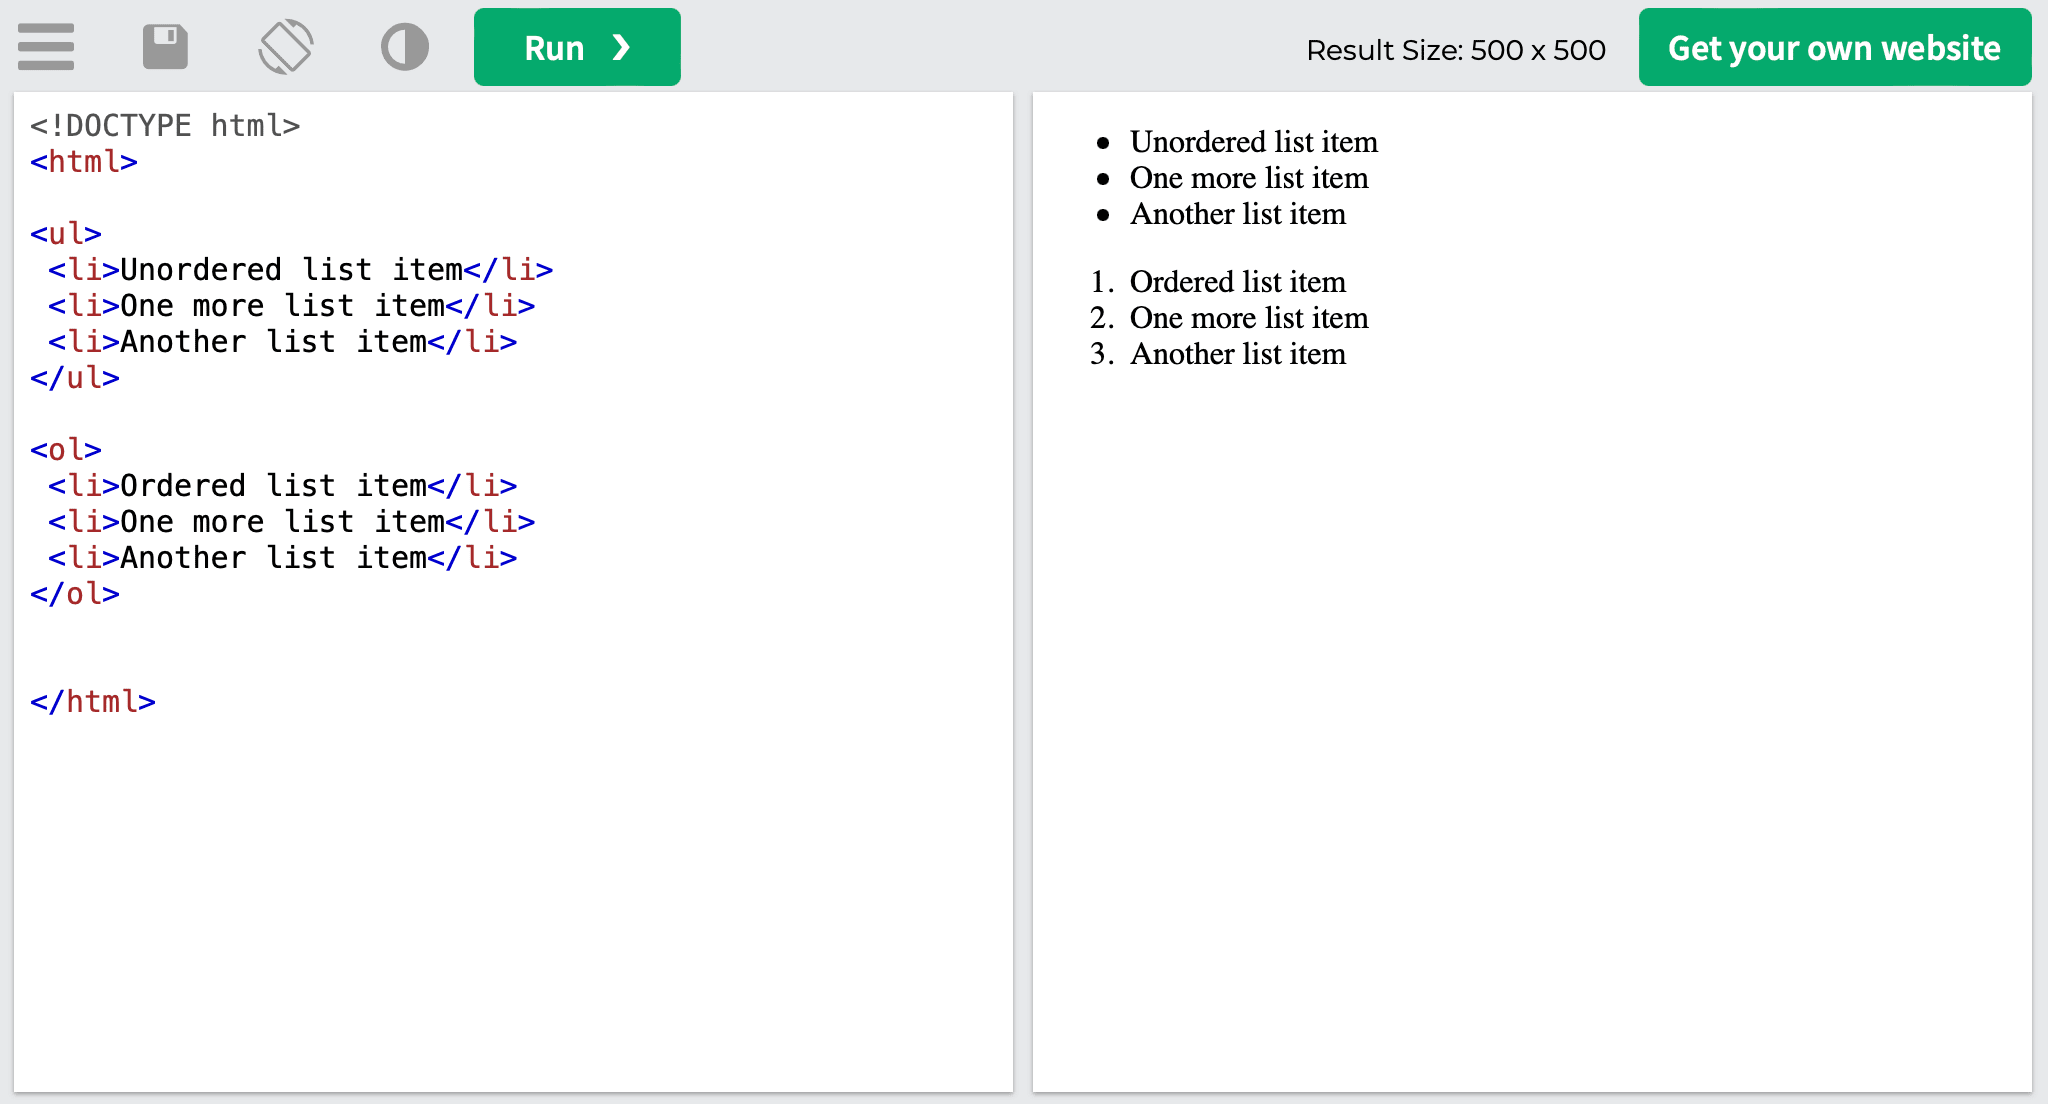
Here’s an example of what the HTML code looks like for unordered (<ul>) and ordered (<ol>) lists:
<ul>
<li>Unordered list item</li>
<li>One more list item</li>
<li>Another list item</li>
</ul>

<ol>
<li>Ordered list item</li>
<li>One more list item</li>
<li>Another list item</li>
</ol>
Once again, let’s break it down and learn how to use the <ul>, <ol> and <li> tags correctly:
- <ul>: defines an unordered (bulleted) list
- <ol>: defines an ordered list
- <li>: specifies the value of a list item, where each element in the list must begin with the <li> tag
Semantic HTML Tags
Since the BERT update in 2019, Google has been using NLP and AI technologies to better understand the intent behind queries, moving beyond keyword analysis. Semantic HTML, introduced as part of the HTML5 standard, was specifically developed to describe content with meaningful tags like <article> and <section>, improving the readability and understandability of web pages for search engines.
Semantic SEO uses semantic HTML tags and incorporates entities, structured data, and contextual optimization to enhance content relevance and search engine visibility. To better understand the difference between semantic and non-semantic SEO, see the picture below:

Let’s dive into the most important semantic SEO tags:
<section>: Defines a standalone section within the webpage
The <section> tag was designed to define an HTML document section, but it can also be used to mark news blocks, contact details, content chapters, and dialog box tabs.
This element typically has a title, and you can place one section element within another. Also, it is considered good practice to use the heading tags within <section> elements when structuring HTML documents. This enables you to establish a logical hierarchy and enhance the accessibility and readability of your content.
Here’s what the HTML code looks like:
<section>
 <h2>The section heading</h2>
 <p>The text of the section</p>
</section>
Once you run it, you will notice that it visually appears similar to the <article> or <aside> elements, despite the obvious difference in page structure:

As you can see in the screenshot below, we also use the <section> element on our website to tag different parts (or sections) of our homepage:

For SEO, the <section> element is similar to the <div> tag and sends a more powerful signal to search engines despite appearing to have no obvious effect. It tells search engines that a logical group of related content is wrapped within the tag, like a contact details section.
<article>: Identifies a self-contained piece of content
The <article> tag wraps the main content on a page. But, unlike the <section> tag, you can cut and paste it from one place to another (like another site) and the article won’t lose its meaning. Moreover, this can be done in a matter of minutes. The tag is often used for articles and blog posts.
Here’s what the HTML code looks like:
<article>
 <h2>Google Chrome</h2>
 <p>Google Chrome is a web browser developed by Google, released in 2008. Chrome is the world's most popular web browser today!</p>
</article>
And here’s how it looks on the website:

<aside>: Creates a section for sidebars or related content
The <aside> tag is used to define a block on the side of the page that contains headings, links to other content, tags, and other info. This is usually referred to as a sidebar, although it can contain a footnote, an ad, or something else.
The content placed within the aside element must not be directly related to the content of the page. Similar to the <div> tag, aside only indicates a sidebar and doesn’t display any design aspects. It can, however, be styled via CSS. The <aside> tag supports HTML Global Attributes and HTML Event Attributes.
Here’s what the HTML code looks like for the sidebar on our blog’s homepage:

The <aside> tag helps search engines quickly obtain valuable page information. Moreover, this tag gives search engines the opportunity to analyze everything around the page to better understand its secondary and main content. Its ultimate goal is to rank the page for relevant queries.
<nav>: Marks a section with navigational links
The <nav> tag is used for site navigation and delineates the website’s most important pages. If your page contains several blocks of links, you can use <nav> to mark priority links.
The <nav> tag is typically used for the main navigation menu only. Screen readers use this tag to understand if they need to skip the content’s initial rendering. Plus, the <nav> tag supports HTML Global Attributes and HTML Event Attributes.
Here’s what the HTML code looks like:
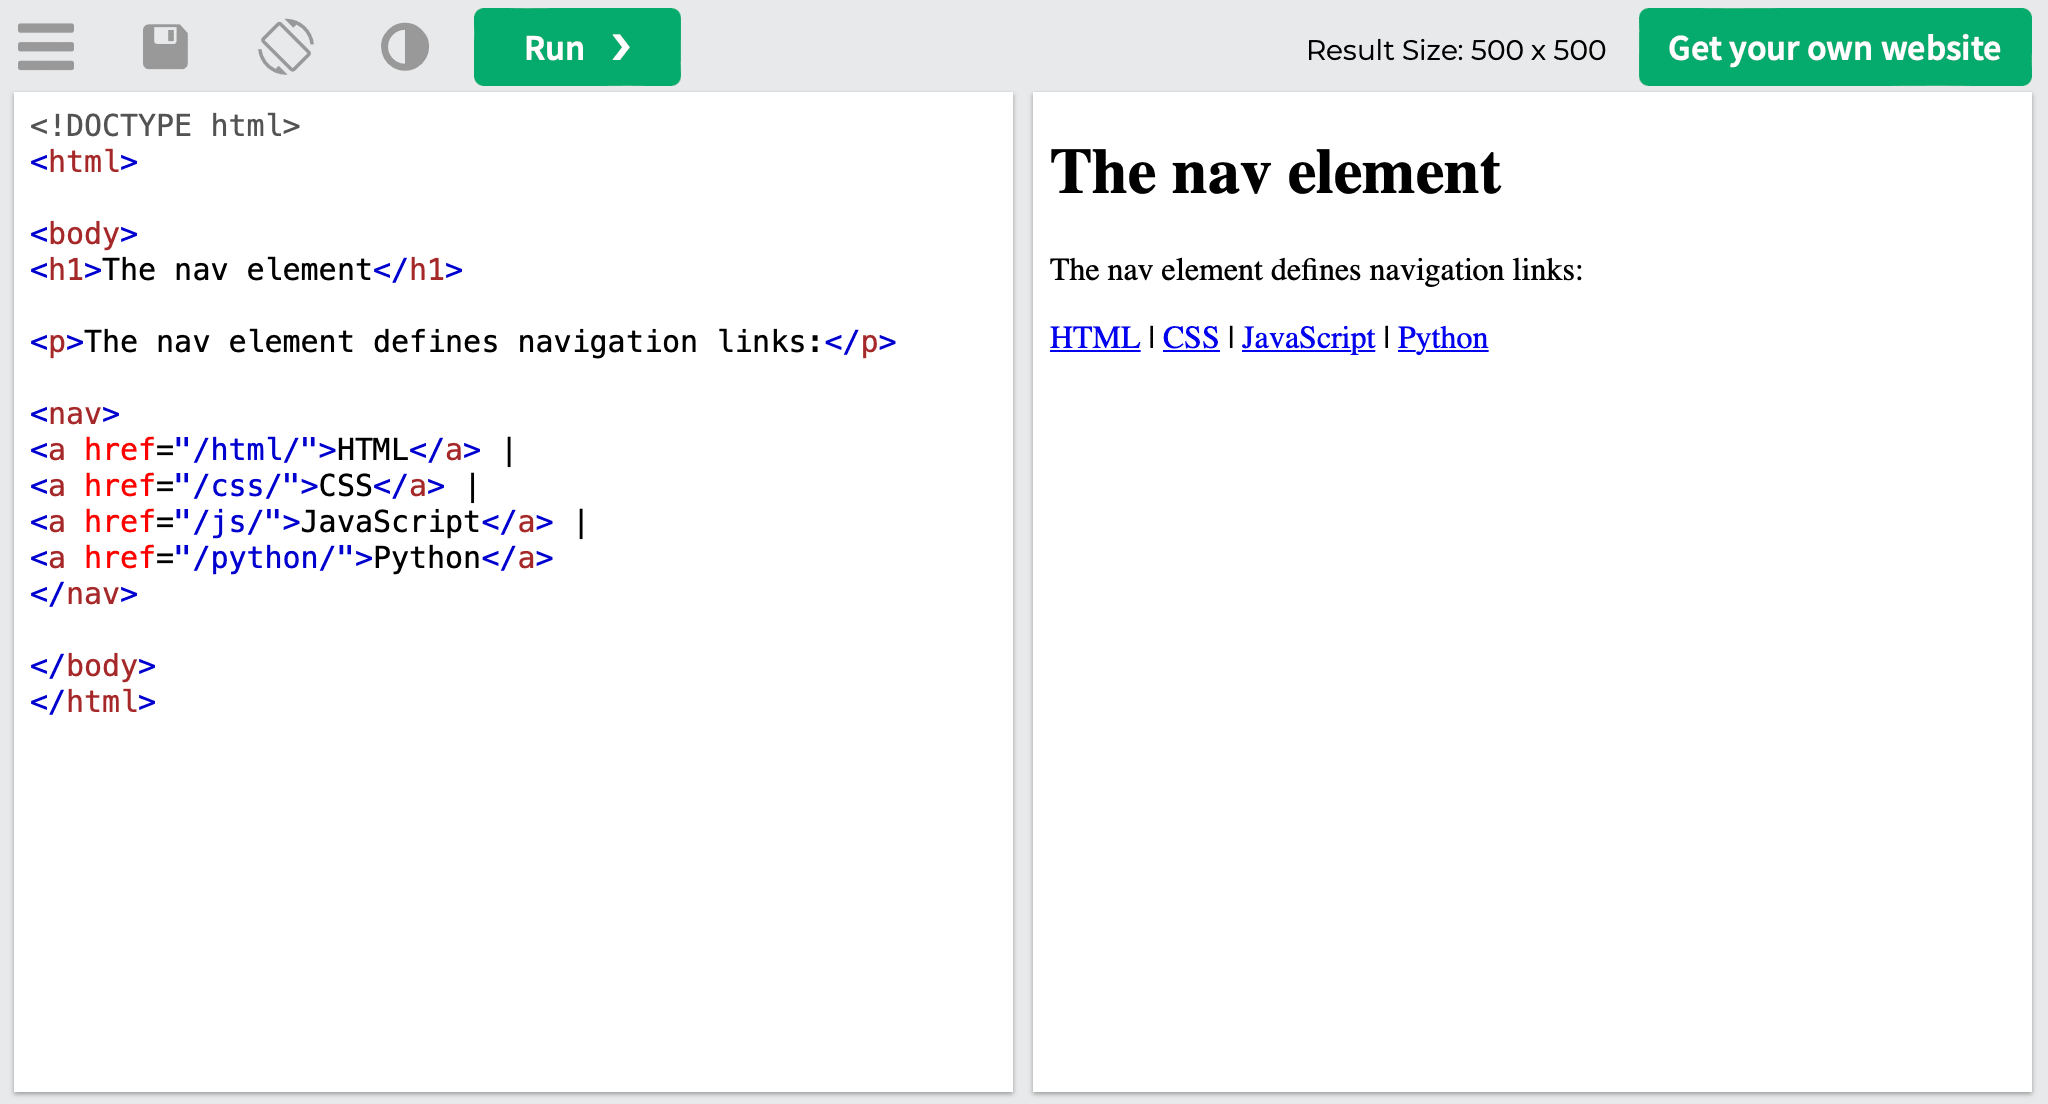
<!DOCTYPE html>
<html>
<body>
 <h1>The nav element</h1>
 <p>The nav element defines a set of navigation links:</p>
 <nav>
  <a href="/html/">HTML</a> |
  <a href="/css/">CSS</a> |
  <a href="/js/">JavaScript</a> |
  <a href="/python/">Python</a>
 </nav>
</body>
</html>
Below, you can see what the HTML code looks like once it’s live:
For search engine optimization, the links tagged with the <nav> element send a signal to search engine bots about the pages you denote as the most important to your website. Furthermore, it provides them with quick and easy access to these web pages.
<header>: Defines the top section of the webpage meant to introduce branding and navigation
The <header> tag defines a page or section header to introduce the page’s content. It typically has a logo or icon, navigational links, and a search bar.
Although there can be several <header> tags in a single HTML code, the tag itself can’t be housed in a <footer> or another <header> tag. The <header> tag supports HTML Global Attributes and HTML Event Attributes.
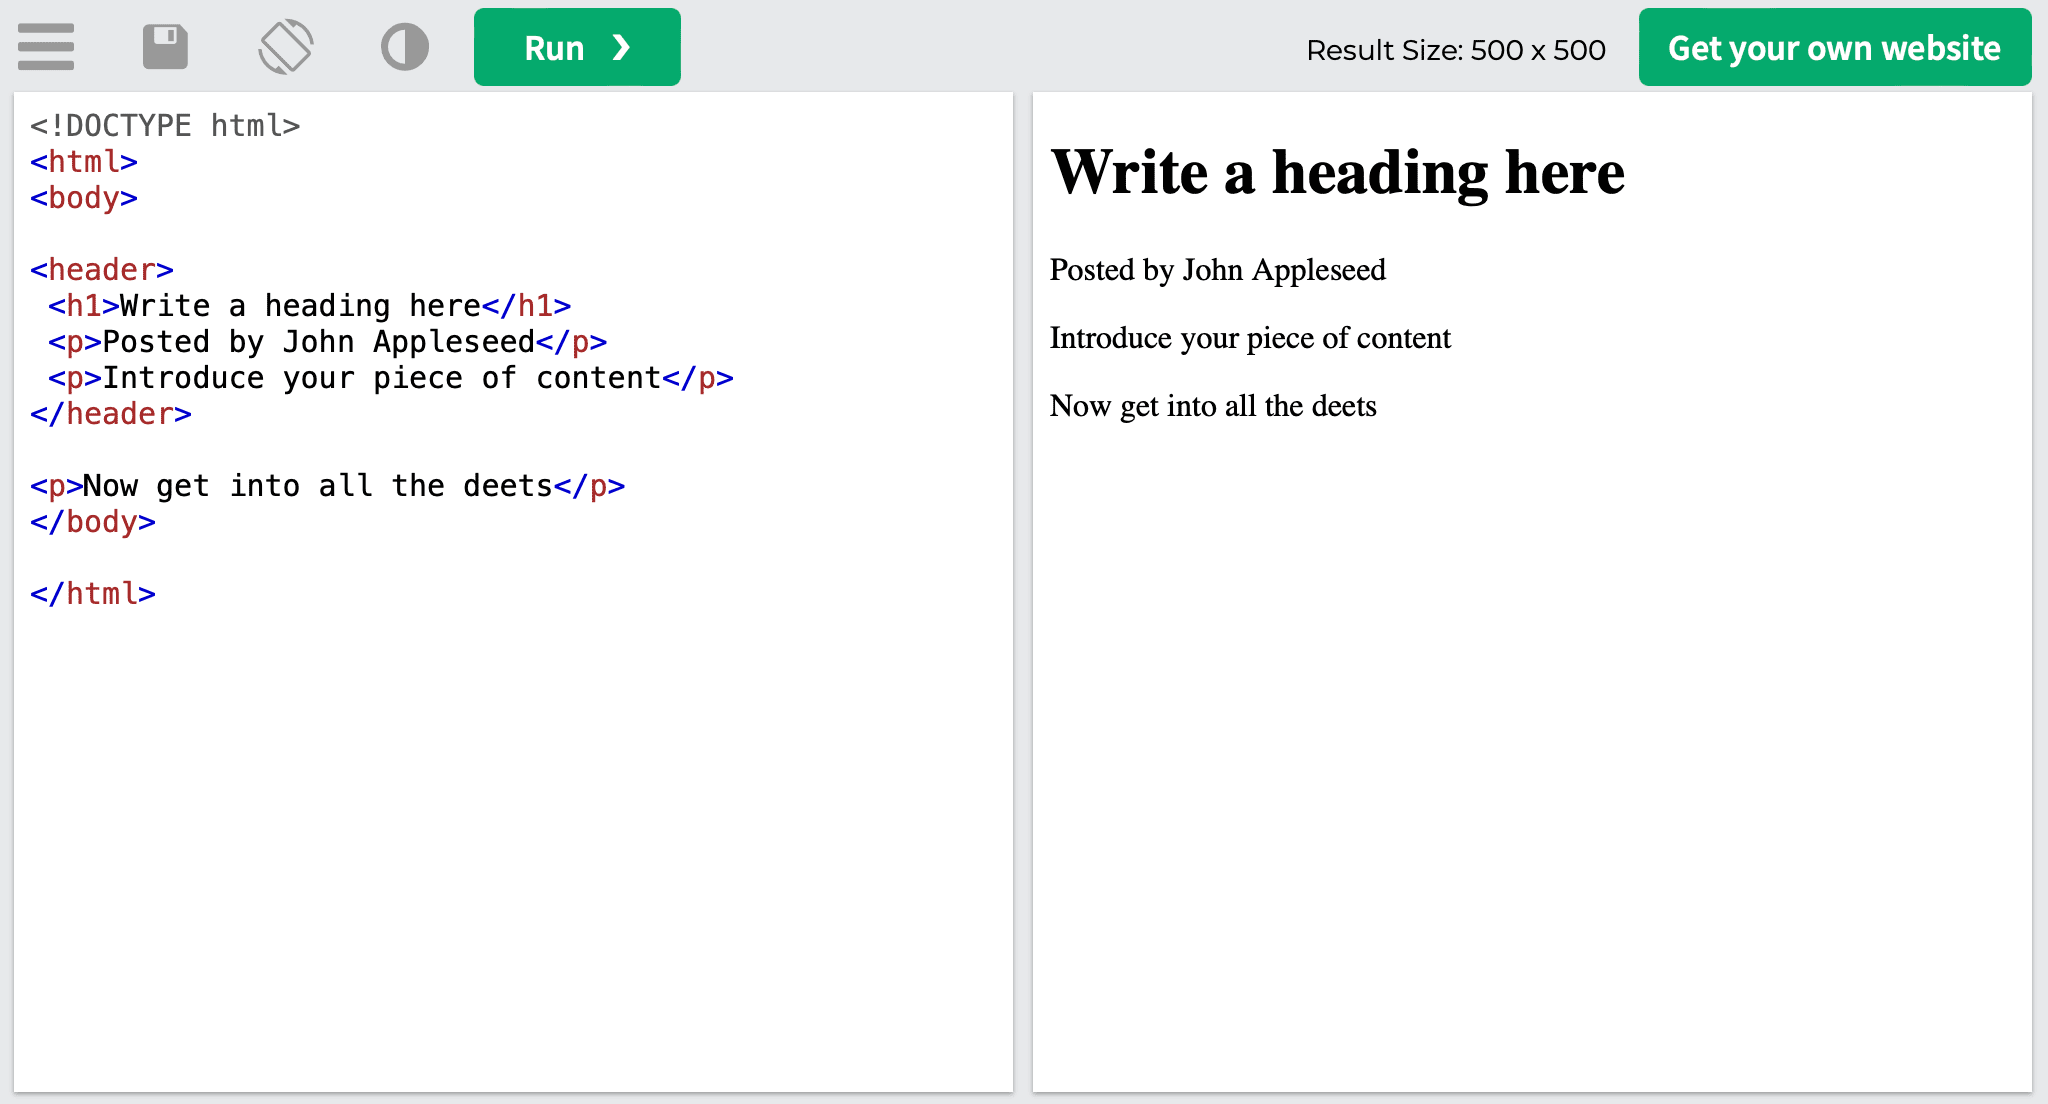
Here’s what the HTML code looks like:
<!DOCTYPE html>
<html>
<body>
<header>
 <h1>Write a heading here</h1>
 <p>Posted by John Appleseed</p>
 <p>Introduce your piece of content</p>
</header>
<p>Now get into all the deets</p>
</body>
</html>
Once you run it, you’ll get the following:
This is just an example, but most sites make it easy to find the <header> element because it’s used at the very top of the page:

Search engine bots consider headers to be user-friendly because they provide page formatting, making the content on the page scannable. Without headings, search bots may think your page isn’t user-friendly, which can cause your rankings to drop. Since the header can also contain internal navigation links, search engines get a clear understanding of the most important pages to your site’s structure.
<footer>: Marks the bottom section of the webpage to further improve navigation and link structure
The <footer> tag indicates the website’s document or section footer.
This tag can contain information on authorship, copyright, contact details (must go inside the <address> tag within the <footer>), links to related docs and pages, back to top link, and perhaps even a sitemap. An HTML code can contain several <footer> tags. Also, this tag supports HTML Global Attributes and HTML Event Attributes.
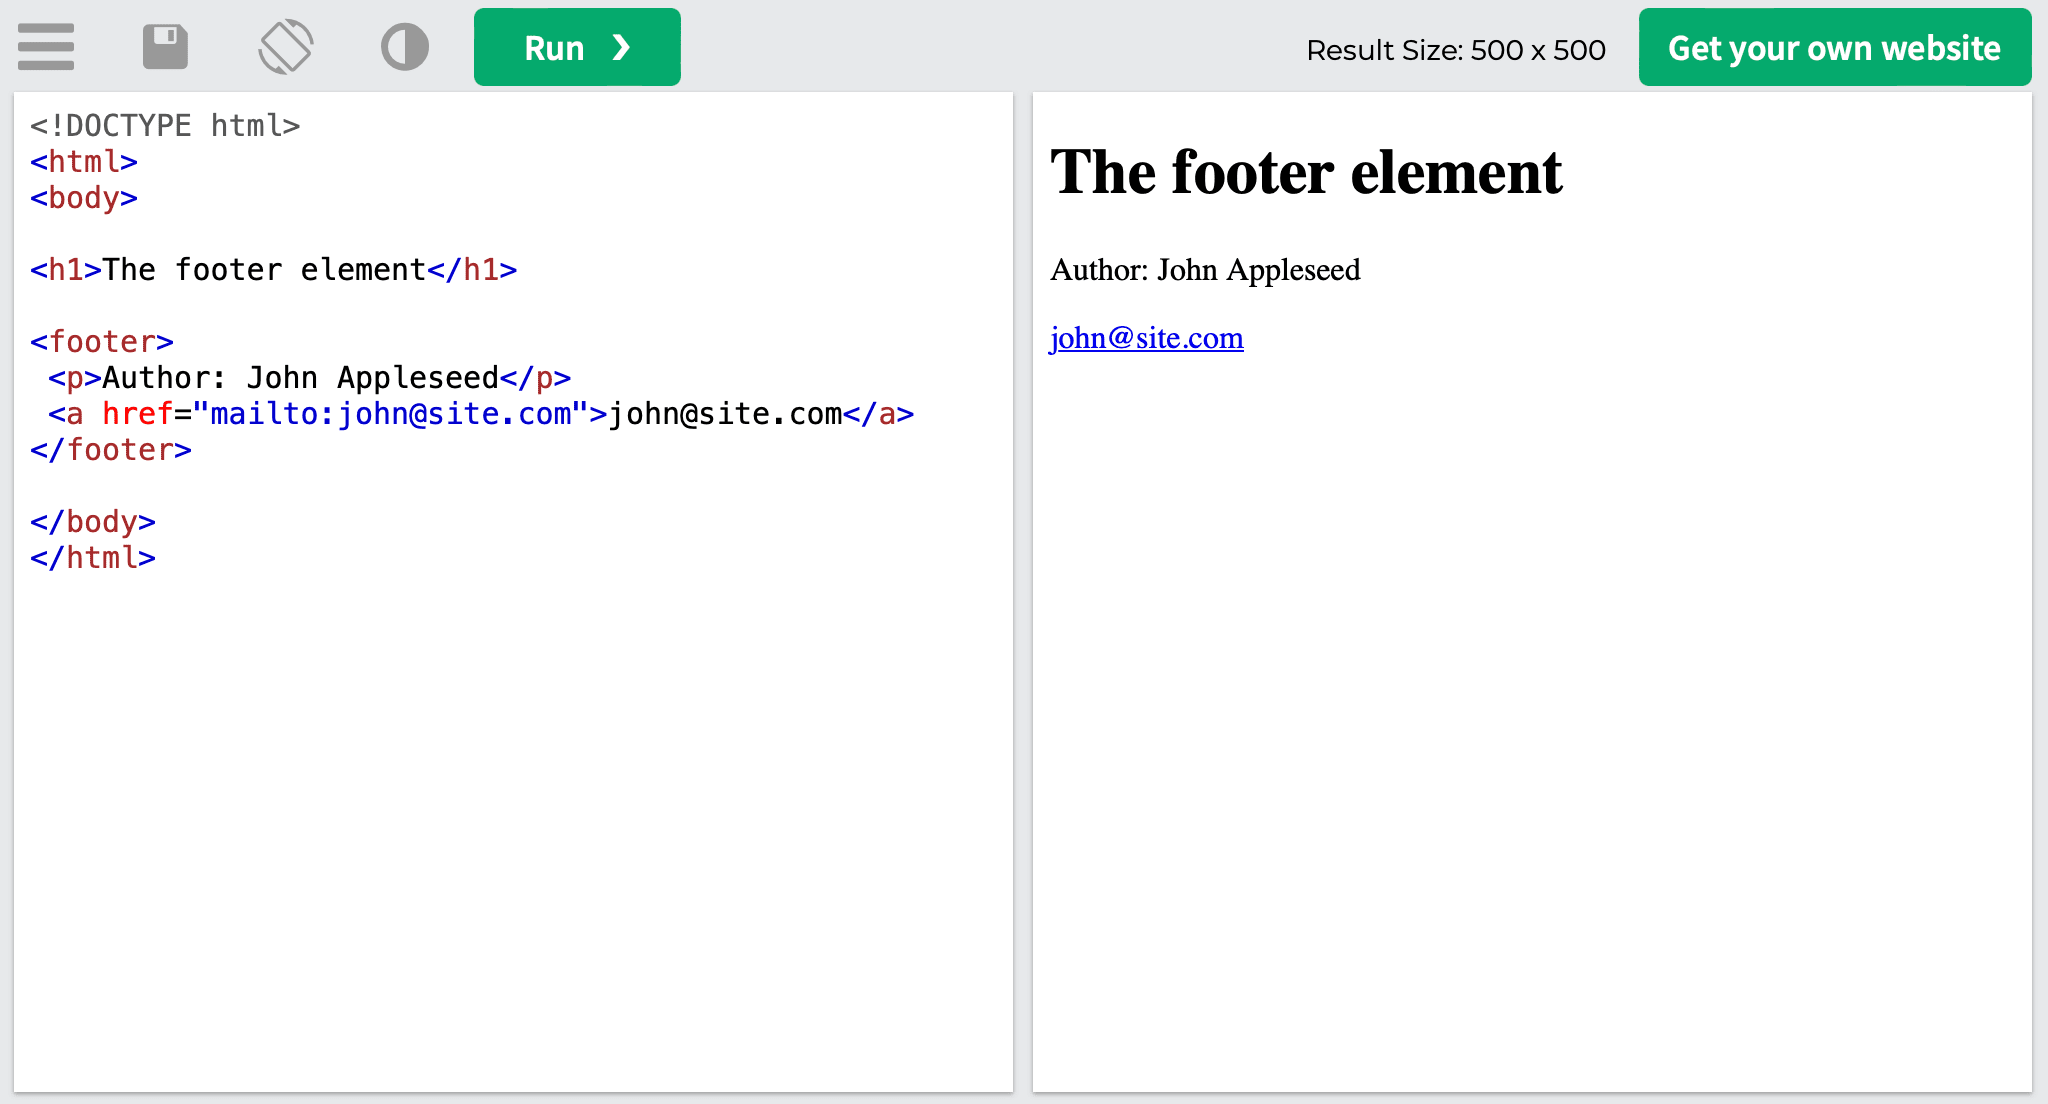
Here’s an example of what the HTML code looks like:
<!DOCTYPE html>
<html>
<body>
 <h1>The footer element</h1>
 <footer>
  <p>Author: John Appleseed</p>
  <a href="mailto:[email protected]">[email protected]</a>
 </footer>
</body>
</html>
The live code produces the following page:
The example above isn’t your typical footer, but it can be found under various articles. Below is an example of a link-packed footer from SE Ranking’s homepage, plus its HTML code:

In most cases, the footer is the same across the entire website and provides users with all the information they could possibly need.
The SEO benefit of using the footer is its ability to contain links—a lot of links. In SEO, this matters as it provides a clear internal link structure. Ensure your footer includes links to all your important pages so search engines can see them.
All commonly used HTML tags and attributes
Now that we’ve covered the most important HTML tags, let’s look at a quick table view with all the tags discussed. We’ll also look at some more commonly-used tags and attributes.
| Tag | Description |
|---|---|
| <!DOCTYPE html> | Defines the document type as HTML |
| <head> | Contains metadata and information about the document: scripts, stylesheets, character encoding, viewport settings, etc |
| <body> | Defines the main content of the HTML document |
| <title> | Specifies the title of an HTML document, which appears in the browser’s title bar, search engine results, and bookmarks |
| <meta> | Provides metadata about the HTML document, such as character encoding and keywords |
| <a> | Creates a hyperlink that allows users to navigate to other web pages, files, or specific sections within the same page |
| <link> | Specifies a link between an HTML document and an external resource, such as a stylesheet or an icon |
| <img> | Embeds and displays an image within the HTML document |
| <i>, <em> | Styles text as italicized or semantically marks text as emphasized or important |
| <b>, <strong> | Makes text bold or gives it strong importance |
| <span> | Applies inline styling or groups and targets specific elements for styling or scripting purposes |
| <style> | Defines CSS styles directly within the HTML document |
| <table> | Creates a table for organizing data |
| <ul> | Represents an unordered (bulleted) list |
| <ol> | Represents an ordered (numbered) list |
| <header> | Defines a container for introductory content and site navigation |
| <h1> to <h6> | Specifies headings of different levels, with <h1> being the highest |
| <footer> | Defines a container for the footer of a document or section |
| <div> | Creates a universal container for grouping tags and styling content |
| <section> | Defines a section within a document or document outline |
| <article> | Represents a self-contained and independently distributable piece of content |
| <aside> | Defines content that is tangentially related to the main content |
| <iframe> | Embeds an external web page or document within the current document |
| <nav> | Defines a section of navigation links |
| <script> | Embeds or references an external JavaScript file or code |
| <code> | Represents a fragment of computer code |
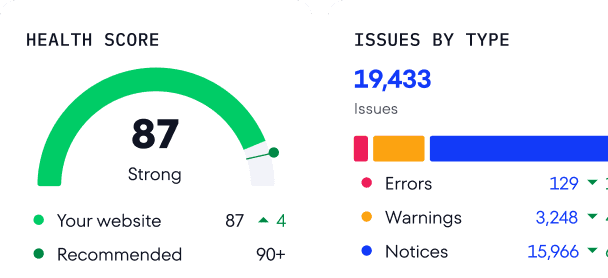
How to check if your tags are in order
To avoid making mistakes in your HTML tags and hurting the quality of your site’s promotion, run a full site analysis. SE Ranking’s Website Audit tool is perfect for this because it makes it easy to audit your entire website.
It provides a detailed analysis of all of your site’s pages, showing those with the noindex, hreflang, canonical and alternate tags. Moreover, the tool checks the headers and meta tags for uniqueness and compliance with length restrictions, locates all duplicates and images with empty alt tags, analyzes h1-h6 tags, and so much more. Besides errors and comments, the report also includes suggestions on how to solve them. You can also manually configure audit frequency based on your needs and how often you make changes to the website.
And that just about covers it, or at least the most frequent tags and attributes faced by SEO pros. By having a good understanding of the importance of each of these elements, including their structure and role on the page, you can identify tag usage errors, correctly develop tasks for programmers and content writers, and even do some coding on your own.
You don’t necessarily need to love HTML tags, but you should at least know which ones are important for site optimization. If you want search engines to rank your pages, it’s your job to guide them with HTML code that contains useful and relevant information.